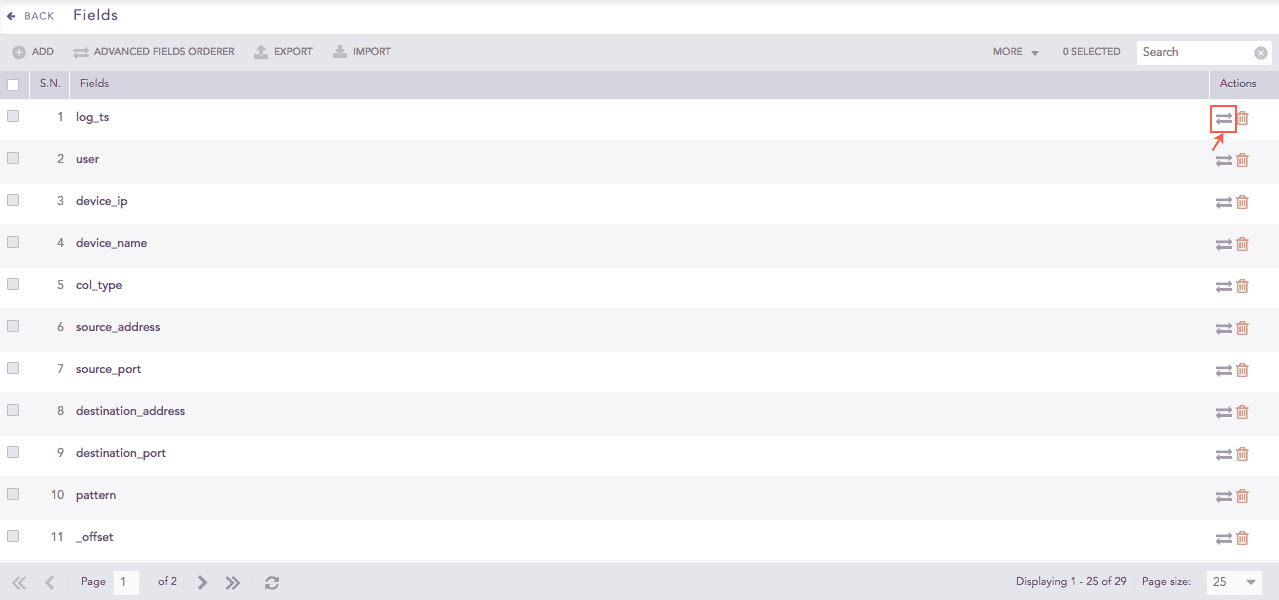
Fields are the keys in a normalized log that allows you to define the order of fields in the log results. You can either select the available fields or add them on your own.
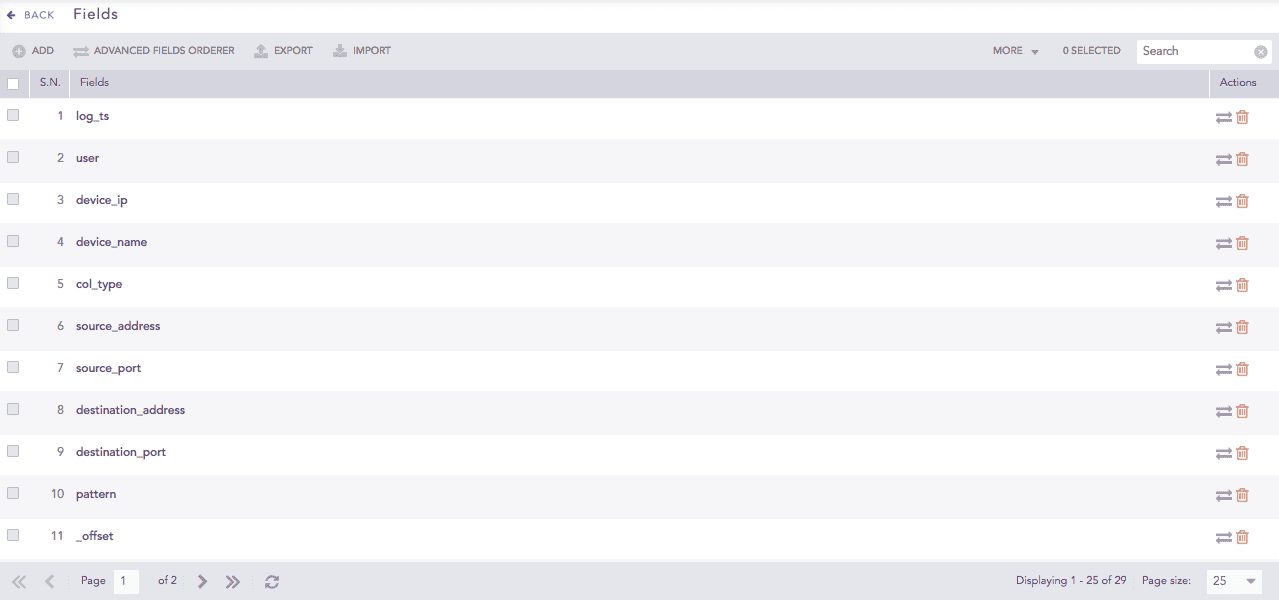
Fields
To sort the columns in ascending or descending order, move your cursor to the column you want to sort. Click the Down Arrow ( ) for ascending order and the Up Arrow (
 ) for descending order.
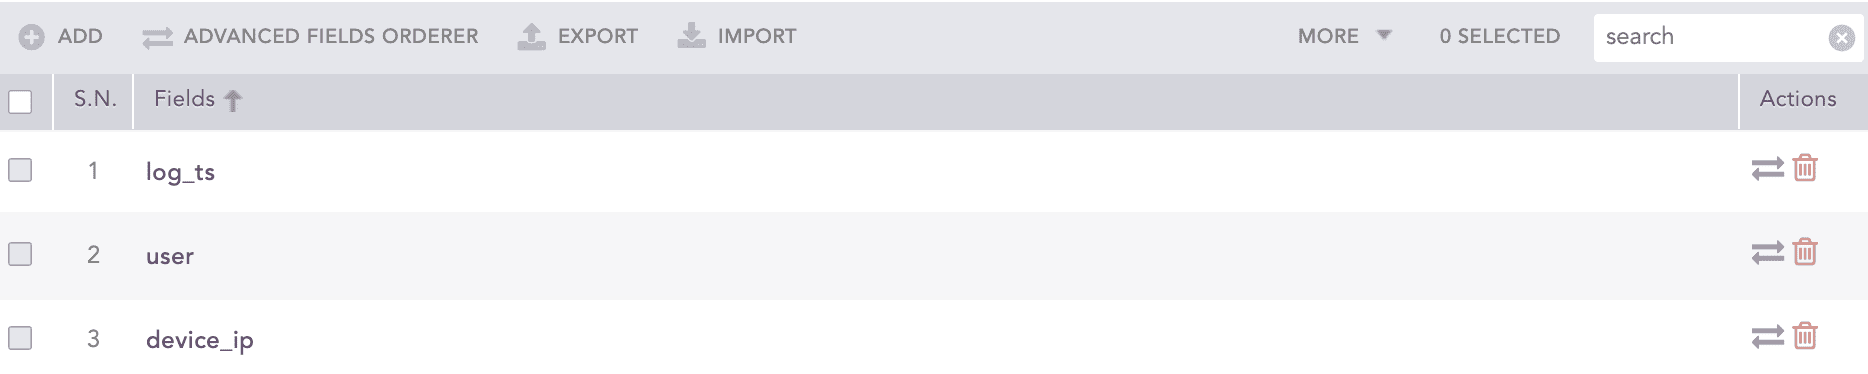
Sorting Columns
Go to Settings >> Knowledge Base from the navigation bar and click Fields.
Click ADD.
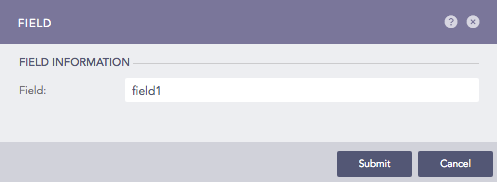
Adding a Field
In Field, enter a name.
Click Submit.
Click the ? symbol near the top-right corner for context-sensitive help.
Go to Settings >> Knowledge Base from the navigation bar and click Fields.
Select the fields you want to export.
Click EXPORT.
The exported pak file is downloaded to your local machine.
Go to Settings >> Knowledge Base from the navigation bar and click Fields.
Click IMPORT.
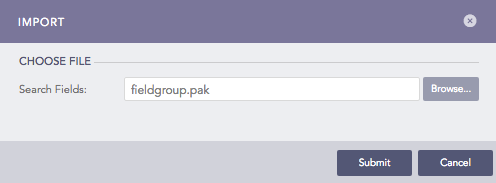
Import
Select the path for a valid pak file containing fields.
Click Submit.
Go to Settings >> Knowledge Base from the navigation bar and click Fields.
Click the Name of the required field and update the information.
Click Submit.
Go to Settings >> Knowledge Base from the navigation bar and click Fields.
Click the Delete ( ) icon under the Actions.
To delete multiple fields, select the fields. Click MORE dropdown and choose Delete Selected.
To delete all the fields, click MORE dropdown and choose Delete All.

Deleting all Fields
Click Yes.