A Distributed Collector, also called Logpoint Collector, collects, normalizes, and forwards logs to a remote Logpoint. The remote Logpoint then configures the sources and storage locations for the logs. Since Logpoint Collector is used only to collect and forward logs, it does not contain Dashboard, Search, and Report. Before configuring a Logpoint Collector, you must enable Open Door in the remote Logpoint. For more information, go to Open Door. The names of each Logpoint must be unique in a distributed setup. To rename a Logpoint, go to System Settings >> General.
Log into the Logpoint you want to add as a Collector.
Go to Settings >> System Settings from the navigation bar and click System Settings.
Click Modes of Operation.
Select Is this Logpoint Collector Installation?.
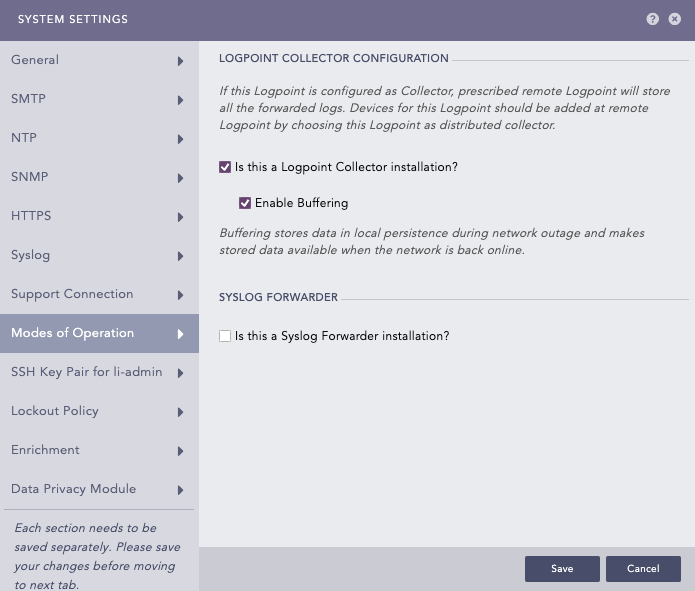
Select Enable Buffering to store data locally during network disruptions. You will have access to it once the network is restored.
Click Save.
Go to Settings >> Configuration from the navigation bar and click Remote Logpoint.
Enter the IP address or DNS Name of the remote Logpoint.
Enter the Password and Private IP provided while enabling Open Door.
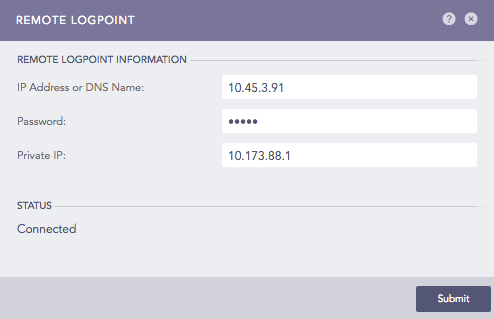
Click Submit.
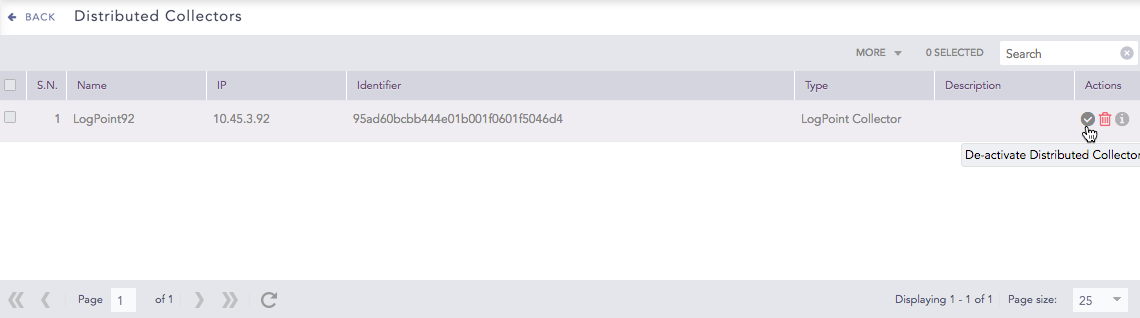
You can find the Logpoint Collector listed under Settings >> Configuration >> Distributed Collector in the remote Logpoint.
Remote Logpoint Distributed Collector
To determine the devices from which a Distributor Collector collects logs, you need to add devices in the remote Logpoint. To learn how to add a device, go to Adding a Device.
To view the added devices, go to View Devices in the Logpoint Collector.

Viewing Devices
To identify the logs collected and normalized through a Logpoint Collector, use the system-defined field collected_at in the search query.