The tool bar gives you access to Found, Search Help Text, Add Search To, More, and Stop/Pause.

Search Tools
Found is the total number of results found for the search query. Logpoint searches results in an incremental basis, so this number keeps updating until all the results have been fetched.
You can conduct a search query while simultaneously using search help. In the search query bar, click the down arrow key. Search help provides suggestions to help users write valid search queries. You can also use the keyboard shortcuts CMD + right click (Mac) and CTRL+ right click (Windows).
Search Help Text
The search help text is not displayed if you have not selected Display search help pop-up in My Preferences >> User Interface >> Search.
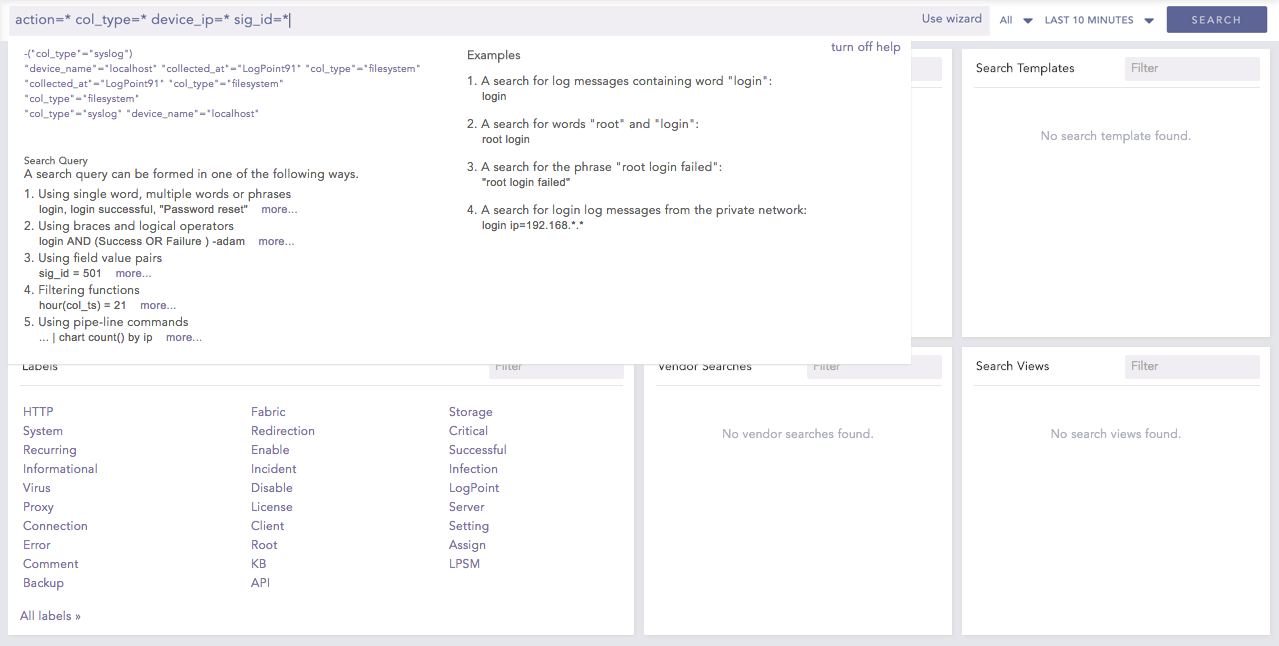
Add Search To allows you to use and view search query results by forwarding them to the dashboard, alert rule, labeling rule, incident, or public URL.

Add Search To
Add Search To Dashboard allows you create a dashboard widget from a recent search query.
Click Dashboard.
Enter the details for the widget and click Next.
Select a Dashboard.
Click Finish.
The display widgets, such as bar graphs, donut charts, and tables, are generated based on the search query’s result type.
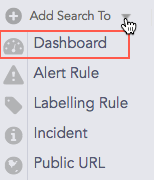
Click Alert Rule.
Enter Name, Description, Repos, and Time Range and click Next.
Select the Condition, the Risk, and the Risk Calculation Function and click Next.
Choose a medium for the alert notification.
Click Finish.
Go to Alerts for details on creating and managing alert rules.
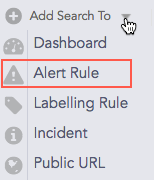
Click Labelling Rule.
Select a Package and enter a List of Labels.
Click Submit.
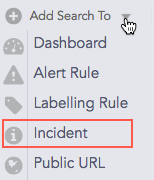
Click Incident.
Enter Incident Name, Description, and Risk level.
Enter the ownership information.
Click Submit.
Go to Incidents for details on creating, managing, and filtering incidents.
Add Search To Public URL lets you add and share Dashboard widgets.
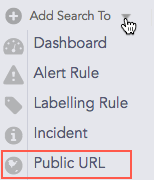
Click Public URL.
Enter a Name, an Identifier, and a Package to add your search to a public URL.
Click Ok.
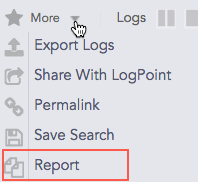
More lists different ways to work with query results.

More
Export Logs lets you export the search results to the specified target on a remote machine. To export the logs of simple search queries:
Go to Search from the navigation bar.
Enter a Search Query in the query bar and click Search.
Click Export Logs.
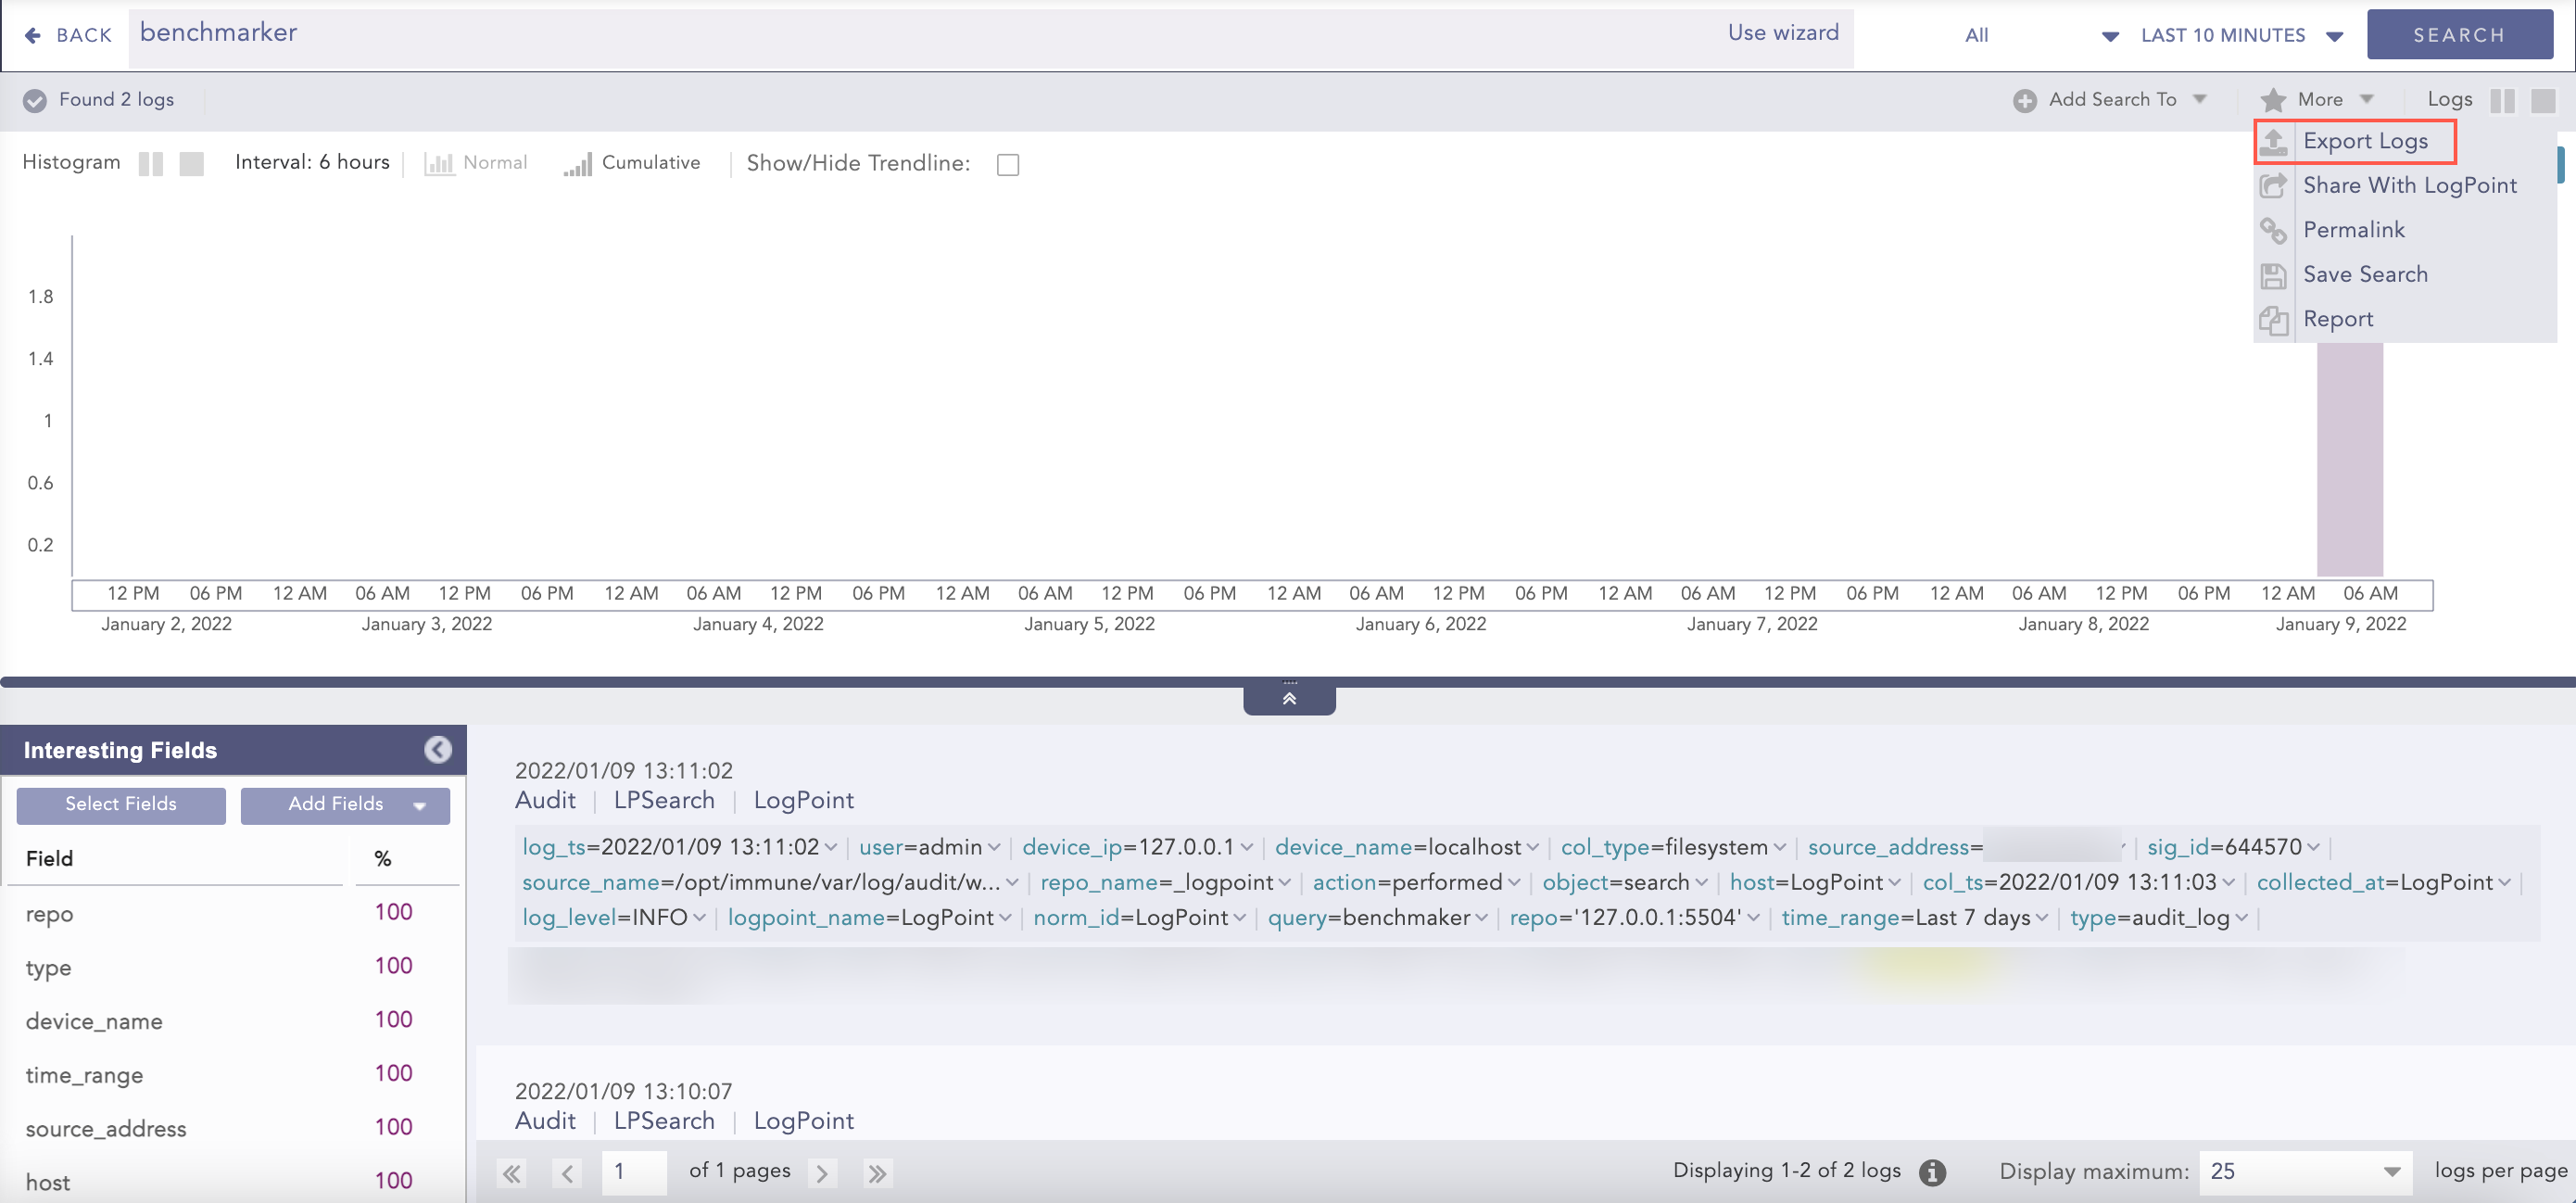
Export Logs
Enter the Job Name, the Timeout in seconds, the Target and the Max File Size.
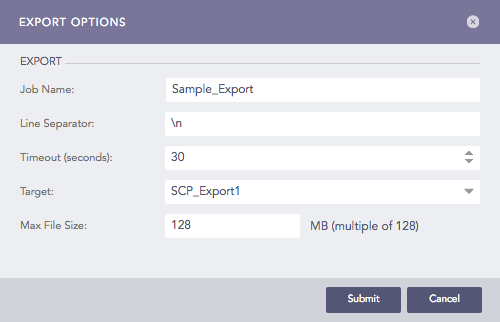
Export
Click Submit.
The Export Logs feature can only be used for simple queries. For aggregated queries, use Export as CSV and Export as Excel.
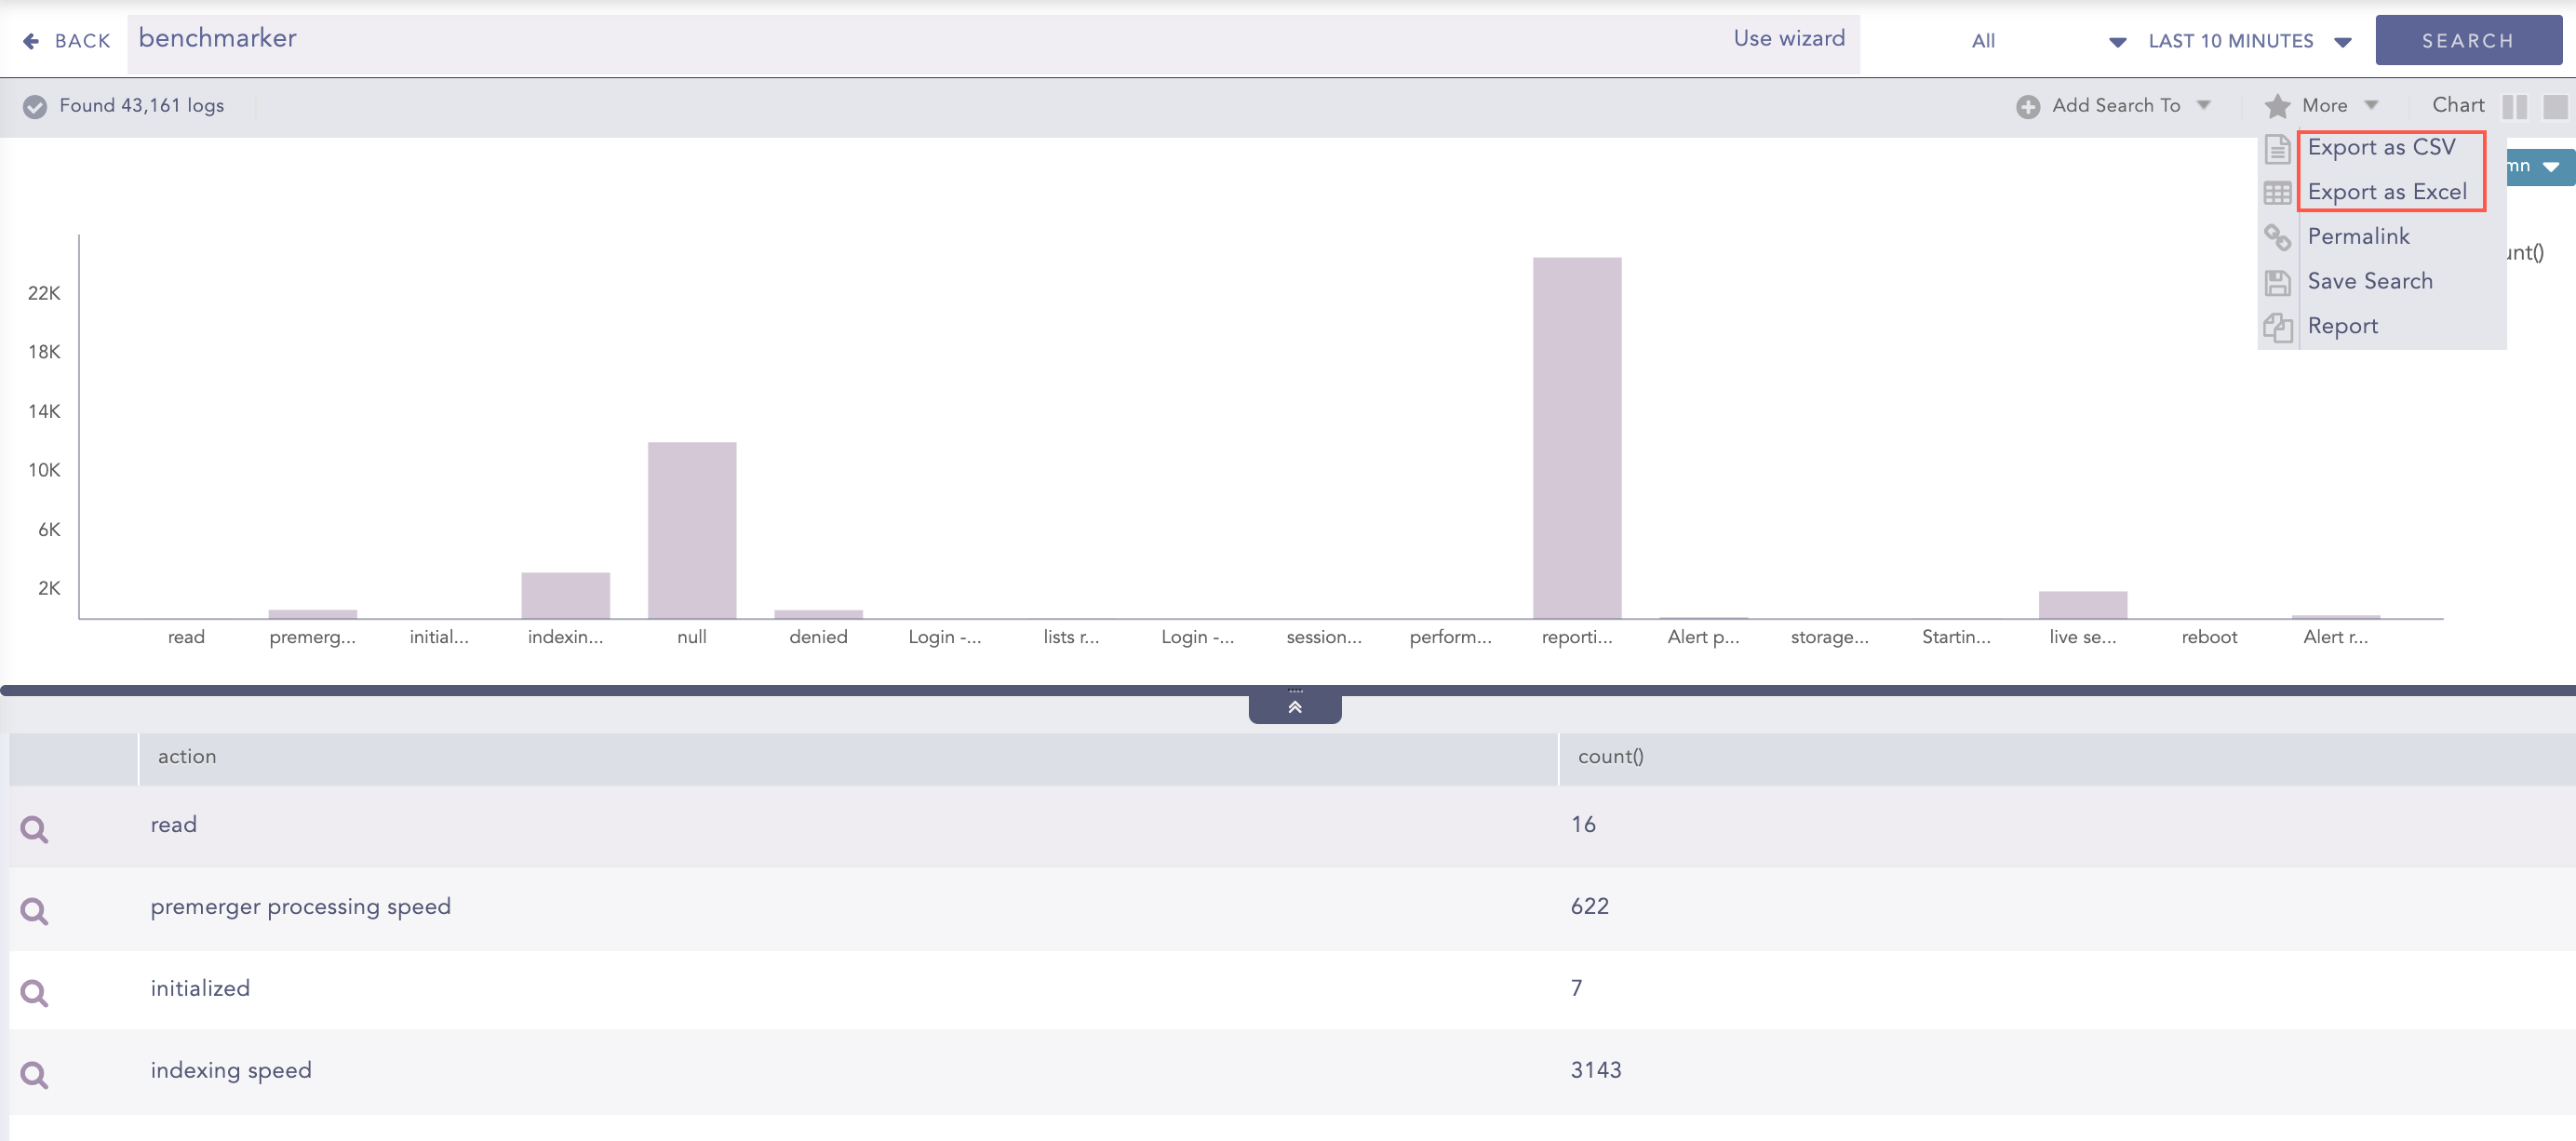
Exports for Aggregated Queries
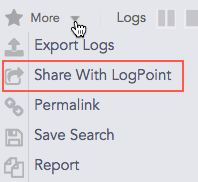
Share with Logpoint lets you share the logs on the current page with Logpoint. The logs from the current search are uploaded into the community site once you click Share with Logpoint. Only simple search queries can be shared.
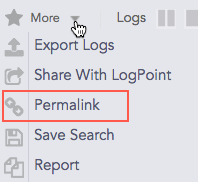
Permalink gives you a complete URL required to generate the current search. You can share this link to other users in Logpoint to make exact and similar search.
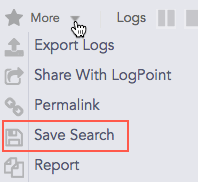
Save Search lets you save your current search. You can view the saved searches on the Search page under My Saved Searches.
You can generate a report of current search results. For details, go to Creating a Report from a Search Query.
 ) to pause the search and stop icon (
 ) to stop the search.